Once a project grows in scope, it becomes inconvenient to manage all of its logic in the Eko Studio’s Code Panel. Checking out a project from Eko Studio allows you to clone the source code of the project to a local git repo, and continue updating its code via git push. This way, you, the developer, can continue working on the project with your own IDE and tools while other members of the project are free to upload video assets, edit and publish the same project in Eko Studio.
Required Tools
Before checking out, make sure to install:
macOS users must have the Xcode Command Line Tools installed as well. If you don’t have Xcode installed run the following command in the terminal:
xcode-select --install
eko-cli Installation
Install eko-cli globally via npm:
npm install -g eko-cli
eko-cliis currently only supported on node versions up to v12. We recommend using nvm if you need to manage multiple node versions on the same machine.
If you see an
EACCESerror when you try to installeko-cliglobally check out npm’s documentation.
To get a list of available commands execute eko without parameters:
eko
ekois a shorter and easier-to-use alias foreko-cli. While the documentation useseko, you can use both.
Login
Checking out a Studio project requires authentication. Run the following command to login with your Studio credentials:
eko user login
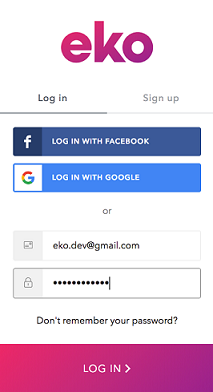
A browser window will open displaying Eko’s login screen (unless you are already logged in):
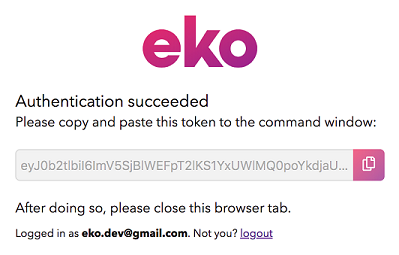
Then you will receive a token which you need to copy and then paste back into the terminal.
Checking out
To check out a project from Eko Studio, run:
eko studio checkout --project=__PROJECT_ID__ -d MyProject
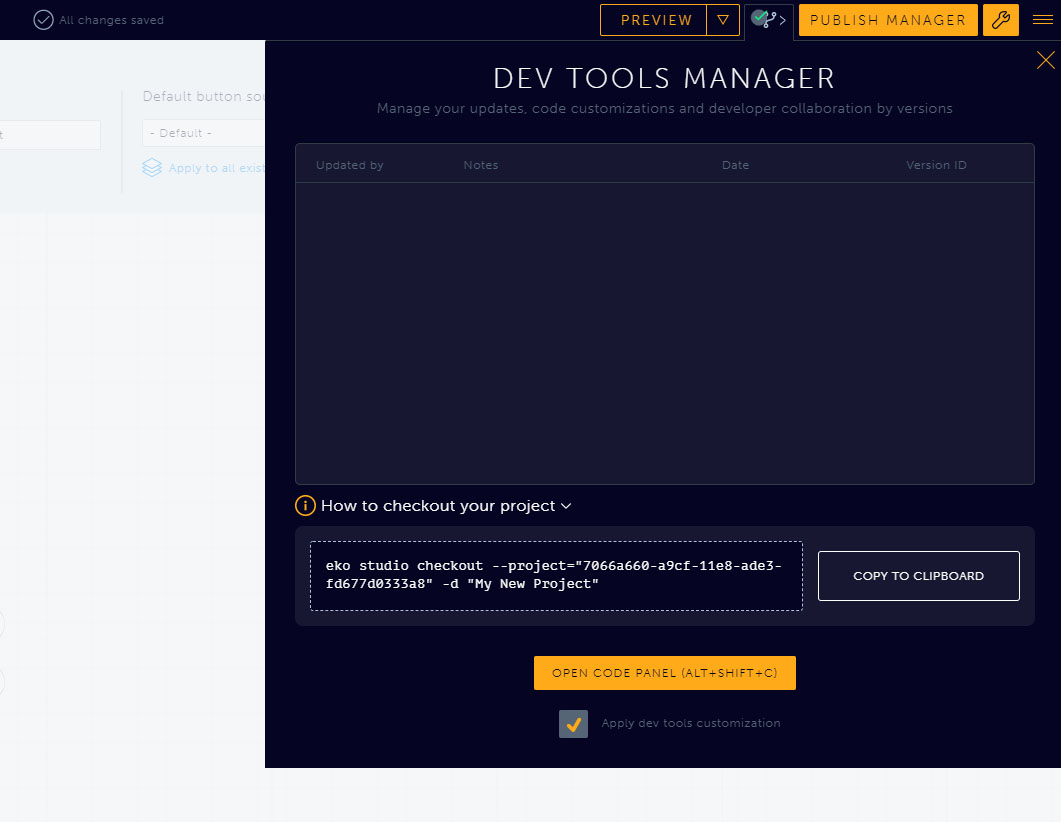
You can copy the full command with your __PROJECT_ID__ and the project name from the Dev Tools Manager window:
The checkout process creates a folder with your project name (or __PROJECT_ID__ if no directory was specified) in the current directory. It is a git repository, connected to the project’s remote repository that is edited by Eko Studio. Read the Project Structure tutorial to learn more about what’s inside.
Because the project folder is a standard git repo, it’s possible to manage your commits and changes using git clients such as SourceTree. This can help visualize the interactions between commits made locally in your development environment and commits made by the Eko Studio virtual user.
The work done on the project is delivered to Eko Studio on git push. If a user makes edits to the project in Eko Studio, git pull will allow you to get them as soon as they are pushed from Studio. Notice that when using git pull, your src/_eko_ directory (and occasionally your src/js/app.js and package.json, if changes were made in the code panel) will be overwritten. You can think of Eko Studio as a not-really-thoughtful developer, who commits with --force without concern for merge conflicts or overwriting code.
Testing
To test a local version of your project, run (after cding into the project directory):
eko studio test
See the Building and Running tutorial to learn more.
Installing Extensions
To make life a little easier, we offer an extension for Visual Studio Code. It will auto-complete API definitions and IDs of nodes, audio and UI elements - saving you from repeatedly copying and pasting them!
To obtain it, simply run the following command in the terminal (make sure you run it with administrative privileges):
eko extensions install --editor vscode
It is recommended to allow suggestions while typing strings. This is done in VSCode’s
settings.jsonby settingeditor.quickSuggestions.stringstotrue. It will look similar to the following snippet:{ "editor.quickSuggestions": { "other": true, "comments": false, "strings": true }, //... }See VSCode’s Customizing IntelliSense Guide for more information.